Team
The Team page is where you add people to your organization, decide what they can do, and remove them when they leave.
Open the organization menu in the top-left and select Settings → Team. The page is available to Owners and Admins; other roles do not see the Team tab.
The Team page has two tabs:
- Team: everyone who is already in the organization, with their name and email, their roles, their workspaces, and the date they joined.
- Pending Requests: people who asked to join the organization and are waiting for a decision. The tab shows a count when requests are waiting.
Use the search box to filter the list by name or email. The list loads more members as you scroll.
Inviting members
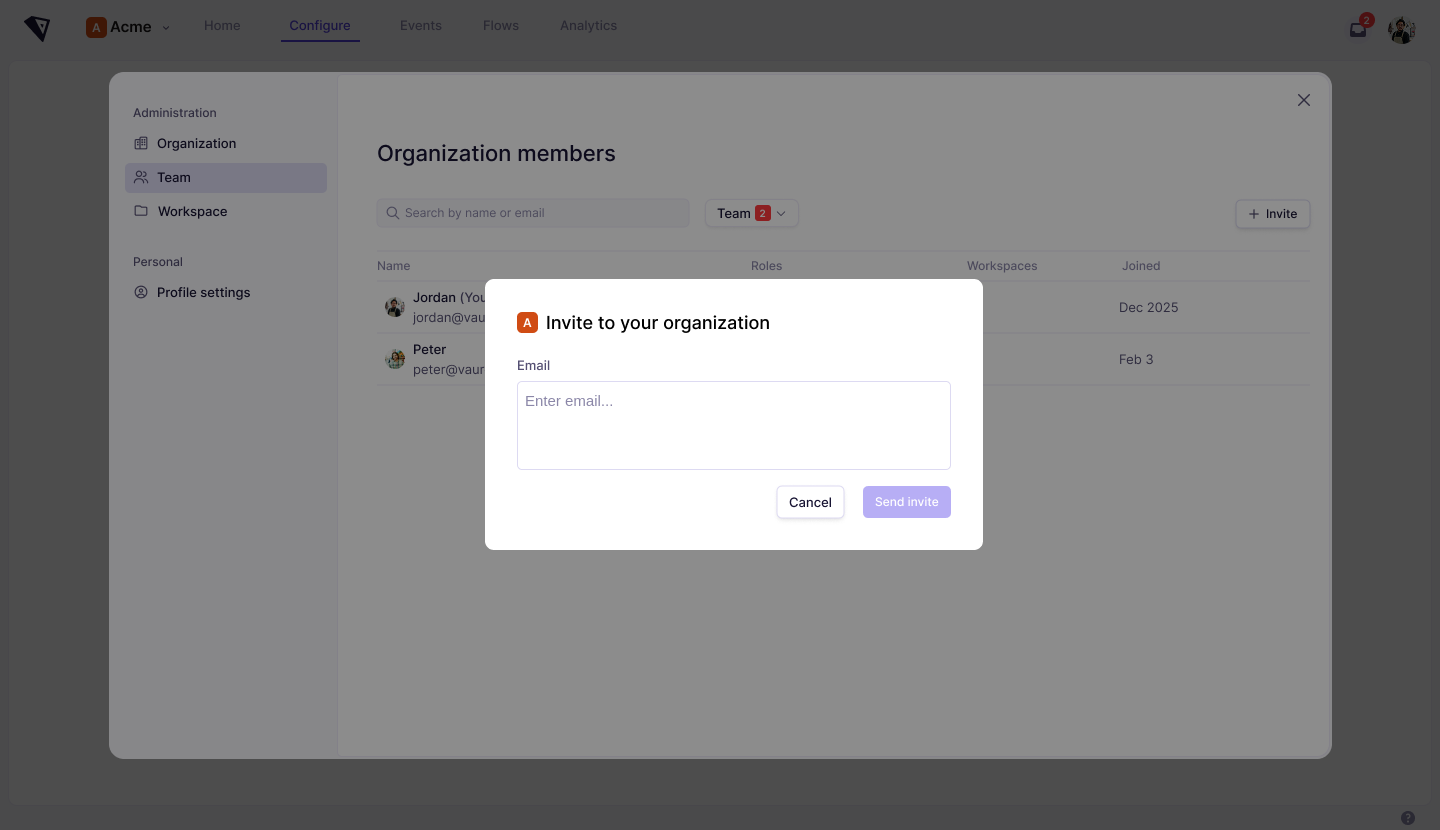
Select Invite, enter one email address, and select Send Invite. Each invite goes to a single address, so send one invite per person.
Invited people join as a Member, the baseline role. Change their roles afterwards from the same page.
Approving join requests
When someone signs up with an email address on your organization's domain, they can request to join instead of creating their own organization. Those requests appear under Pending Requests.
Each row has two actions:
- Approve (the tick): the person joins the organization as a Member and moves to the Team tab.
- Deny (the cross): the request is rejected and the person does not join.
The person is notified by email when their request is approved. See Organization for what the request looks like from their side.
Changing a member's roles
Select the role shown on a member's row, or open the menu at the end of the row and select Update role, to open the role list. Tick or untick roles there. Changes save automatically a moment after you stop clicking, so there is no separate save step.
A member can hold more than one role, and their access is the union of all of them. Ticking a broader role automatically ticks the roles it covers and marks them as inherited, so you cannot untick them on their own. For example:
- Owner covers every other role, so ticking Owner replaces any other role the member had.
- Admin covers Agent Manager, Workspace Manager, and Member, but not Billing Manager. A member can be both an Admin and a Billing Manager.
- Agent Manager, Workspace Manager, and Billing Manager each cover Member and can be combined with one another.
Three rules limit who can change roles:
- You cannot change your own roles. Ask another Owner or Admin.
- Admins cannot change an Owner's roles. Only an Owner can change another Owner.
- Only Owners can grant the Owner role. Admins can assign every other role.
The row shows the member's highest role, with a +1 style count when they hold more than one. Open the role list to see all of them.
For what each role can actually do, see Roles.
An organization must always have at least one Owner. If a member is the only Owner, the Owner role cannot be removed from them and they cannot be removed from the organization. Give someone else the Owner role first.
Removing a member
Open the menu at the end of a member's row and select Remove from org, then confirm. The member loses access to the organization and all of its workspaces immediately.
Removing someone does not delete the flows, events, sources, or integrations they created.
People can also remove themselves. Any member can leave an organization from Settings → Organization. See Organization.